This two part tutorial will show you how you can make the ice wall background from Lich King computer game. In this Part 1 (of two) you will create ice wall background.
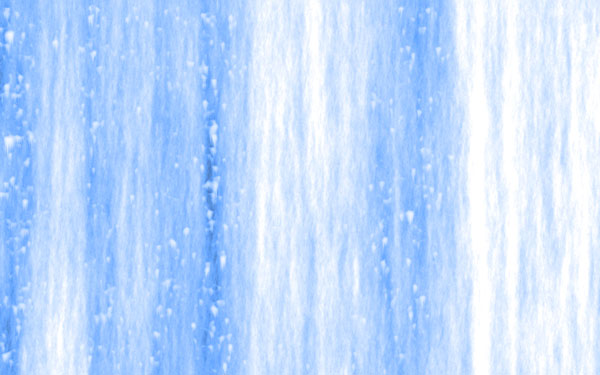
Final Image

Step 1
Create a new document with size of 1200 x 800 pixels with default settings (RGB, 72 dpi, white background). This will be the layer where we will be working to create our ice wall background.
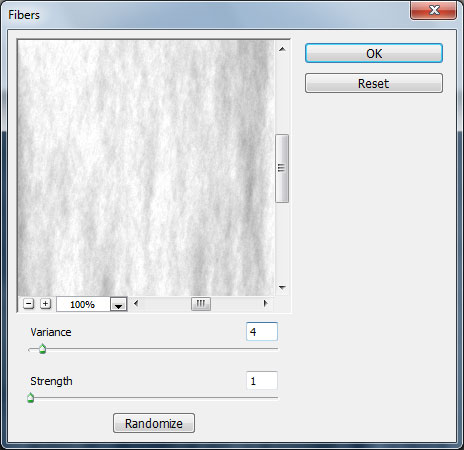
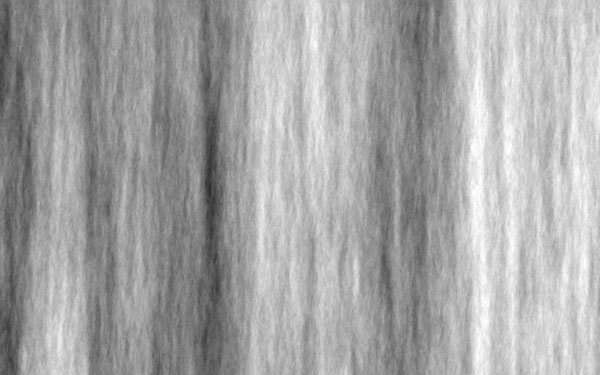
Press (D) to set up foreground and background colors black and white. After this apply Filter > Render > Fibers (you can click on Randomize to change to a different render):
Step 2
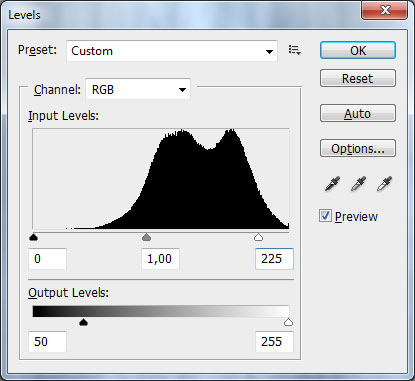
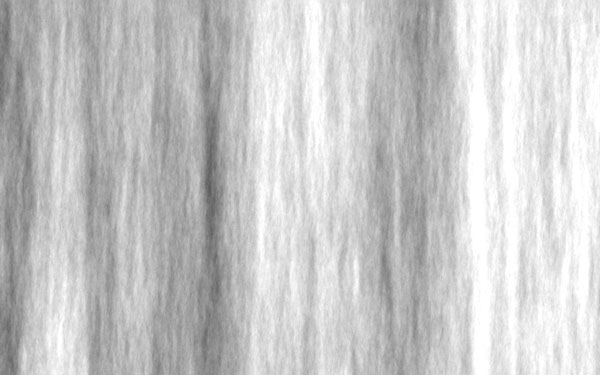
Use Image > Adjustments > Levels to edit brightness and contrast levels.
Step 3
Create a new layer and fill it with white color. Then apply Filter > Noise > Add Noise with similar settings to these:
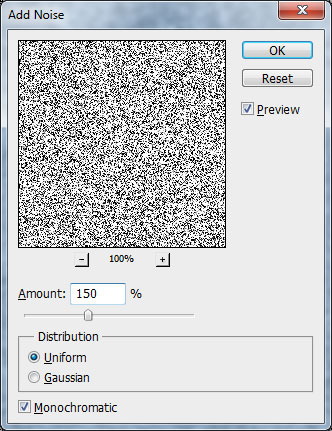

Step 4
After this apply Filter > Pixelate > Crystallize:
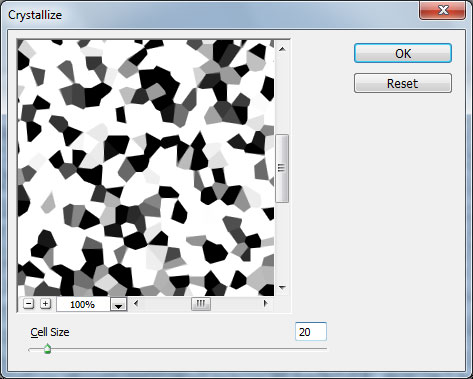

Step 5
Finally use Filter > Stylize > Find Edges:
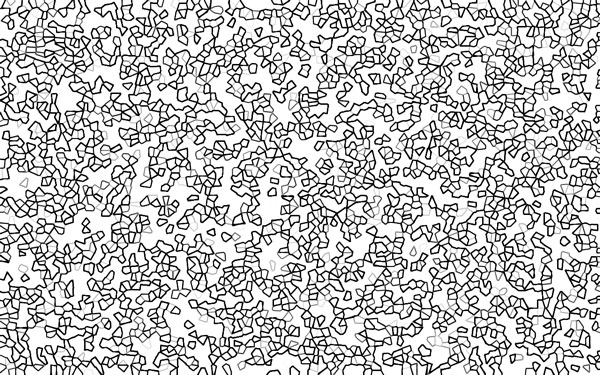
Step 6
Press Ctrl+I to invert colors.
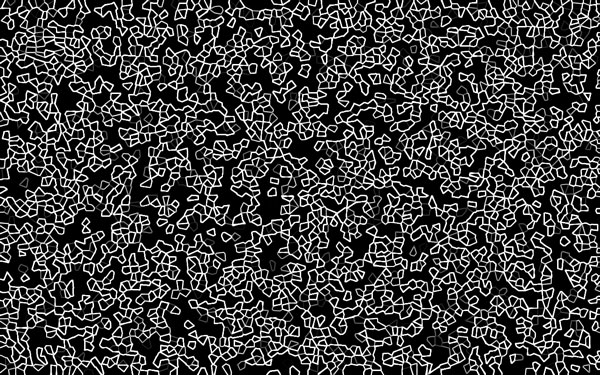
Step 7
Now rotate this layer with Edit > Transform > Rotate 90 CW:
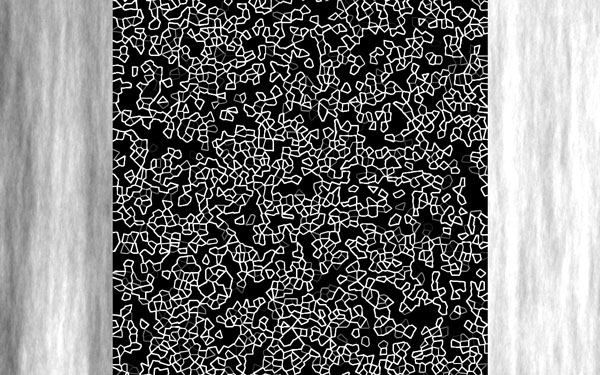
Step 8
Blur this layer a little bit with Filter > Blur > Gaussian Blur:
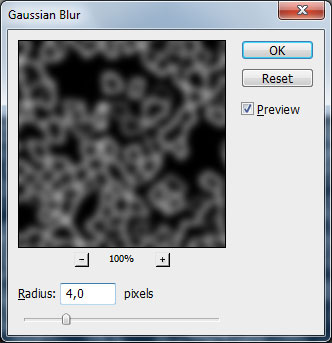
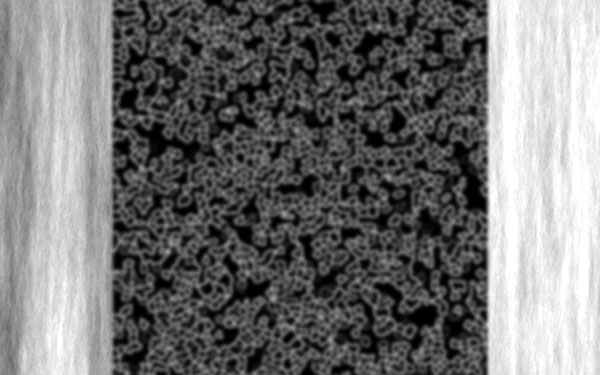
Step 9
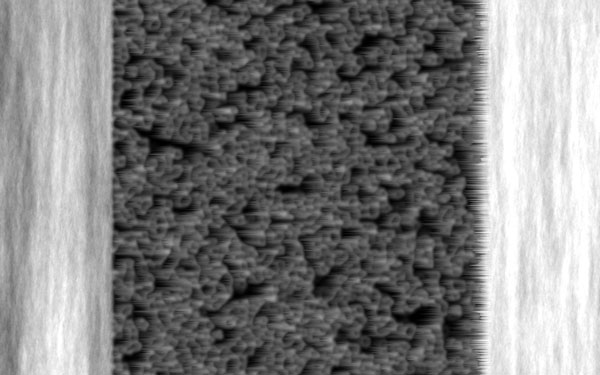
After that add wind with Filter > Stylize > Wind:
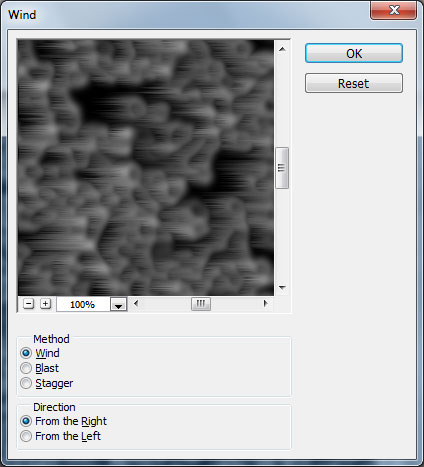
Step 10
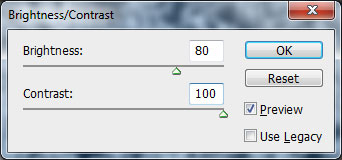
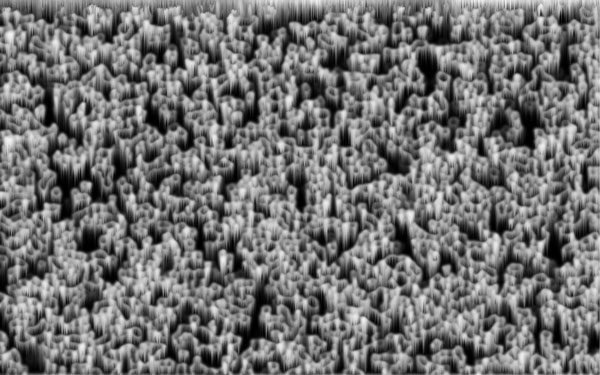
Rotate this layer back by using Edit > Transform > Rotate 90 CCW and apply Image > Adjustments > Brightness/Contrast with next presets:
Step 11
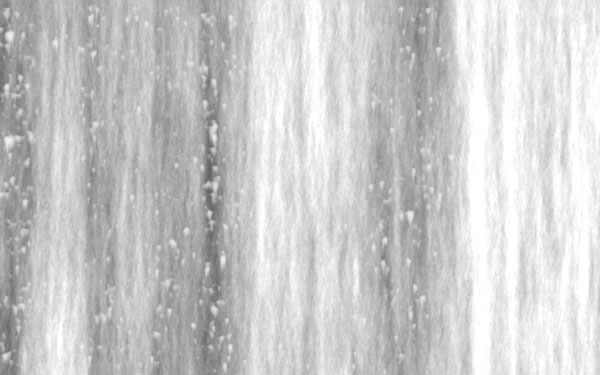
Now change layer mode to Lighten for this layer.
Step 12
Usually ice has a little blue color. So let’s add some color. Create a new layer and fill it with color #67a7ff, then change layer mode to Overlay.With this step we are done with background.
Part 2
Part 2 of this tutorial has been published.
